
Agent Client Panel Overview
The Client Panel is a simple, login-based admin area where your customers can download tour images, edit their tour, select music, rearrange/hide images, rename images, add descriptions, edit the flyer, change general tour information, add an MLS, and retrieve tour links and embed codes.
In this article
Tour View
Below is the default view after logging into the client panel and displays all of your customer's tours. You'll notice that your customers have the ability to filter their tours within each section.

Profile Settings

In the Profile Setting your customers can change their Customer Record information, including a company logo and profile picture.

At the bottom of the page, you can enable or disable the Customer Portal, simply by checking the box and clicking SAVE.

YouTube Settings

Agents can connect their YouTube channel by first logging into their YouTube channel and clicking the second link on the page. Then they can follow the instructions. *If you do not wish to provide this service, view our support article here to turn this off.

Tour Detail View
The Tour Detail view is organized around the 6 major things your customers need to access each tour. This puts the most commonly accessed items first while still making it fast and easy for your customers to access the system's multitudinous features. They can also deactivate the tour in the top right corner (directly under Published) at any time.

1. Edit tour
Info
This tab allows you to customize the tour. Your customer can manage the property details/status, headings, open house, and property description.
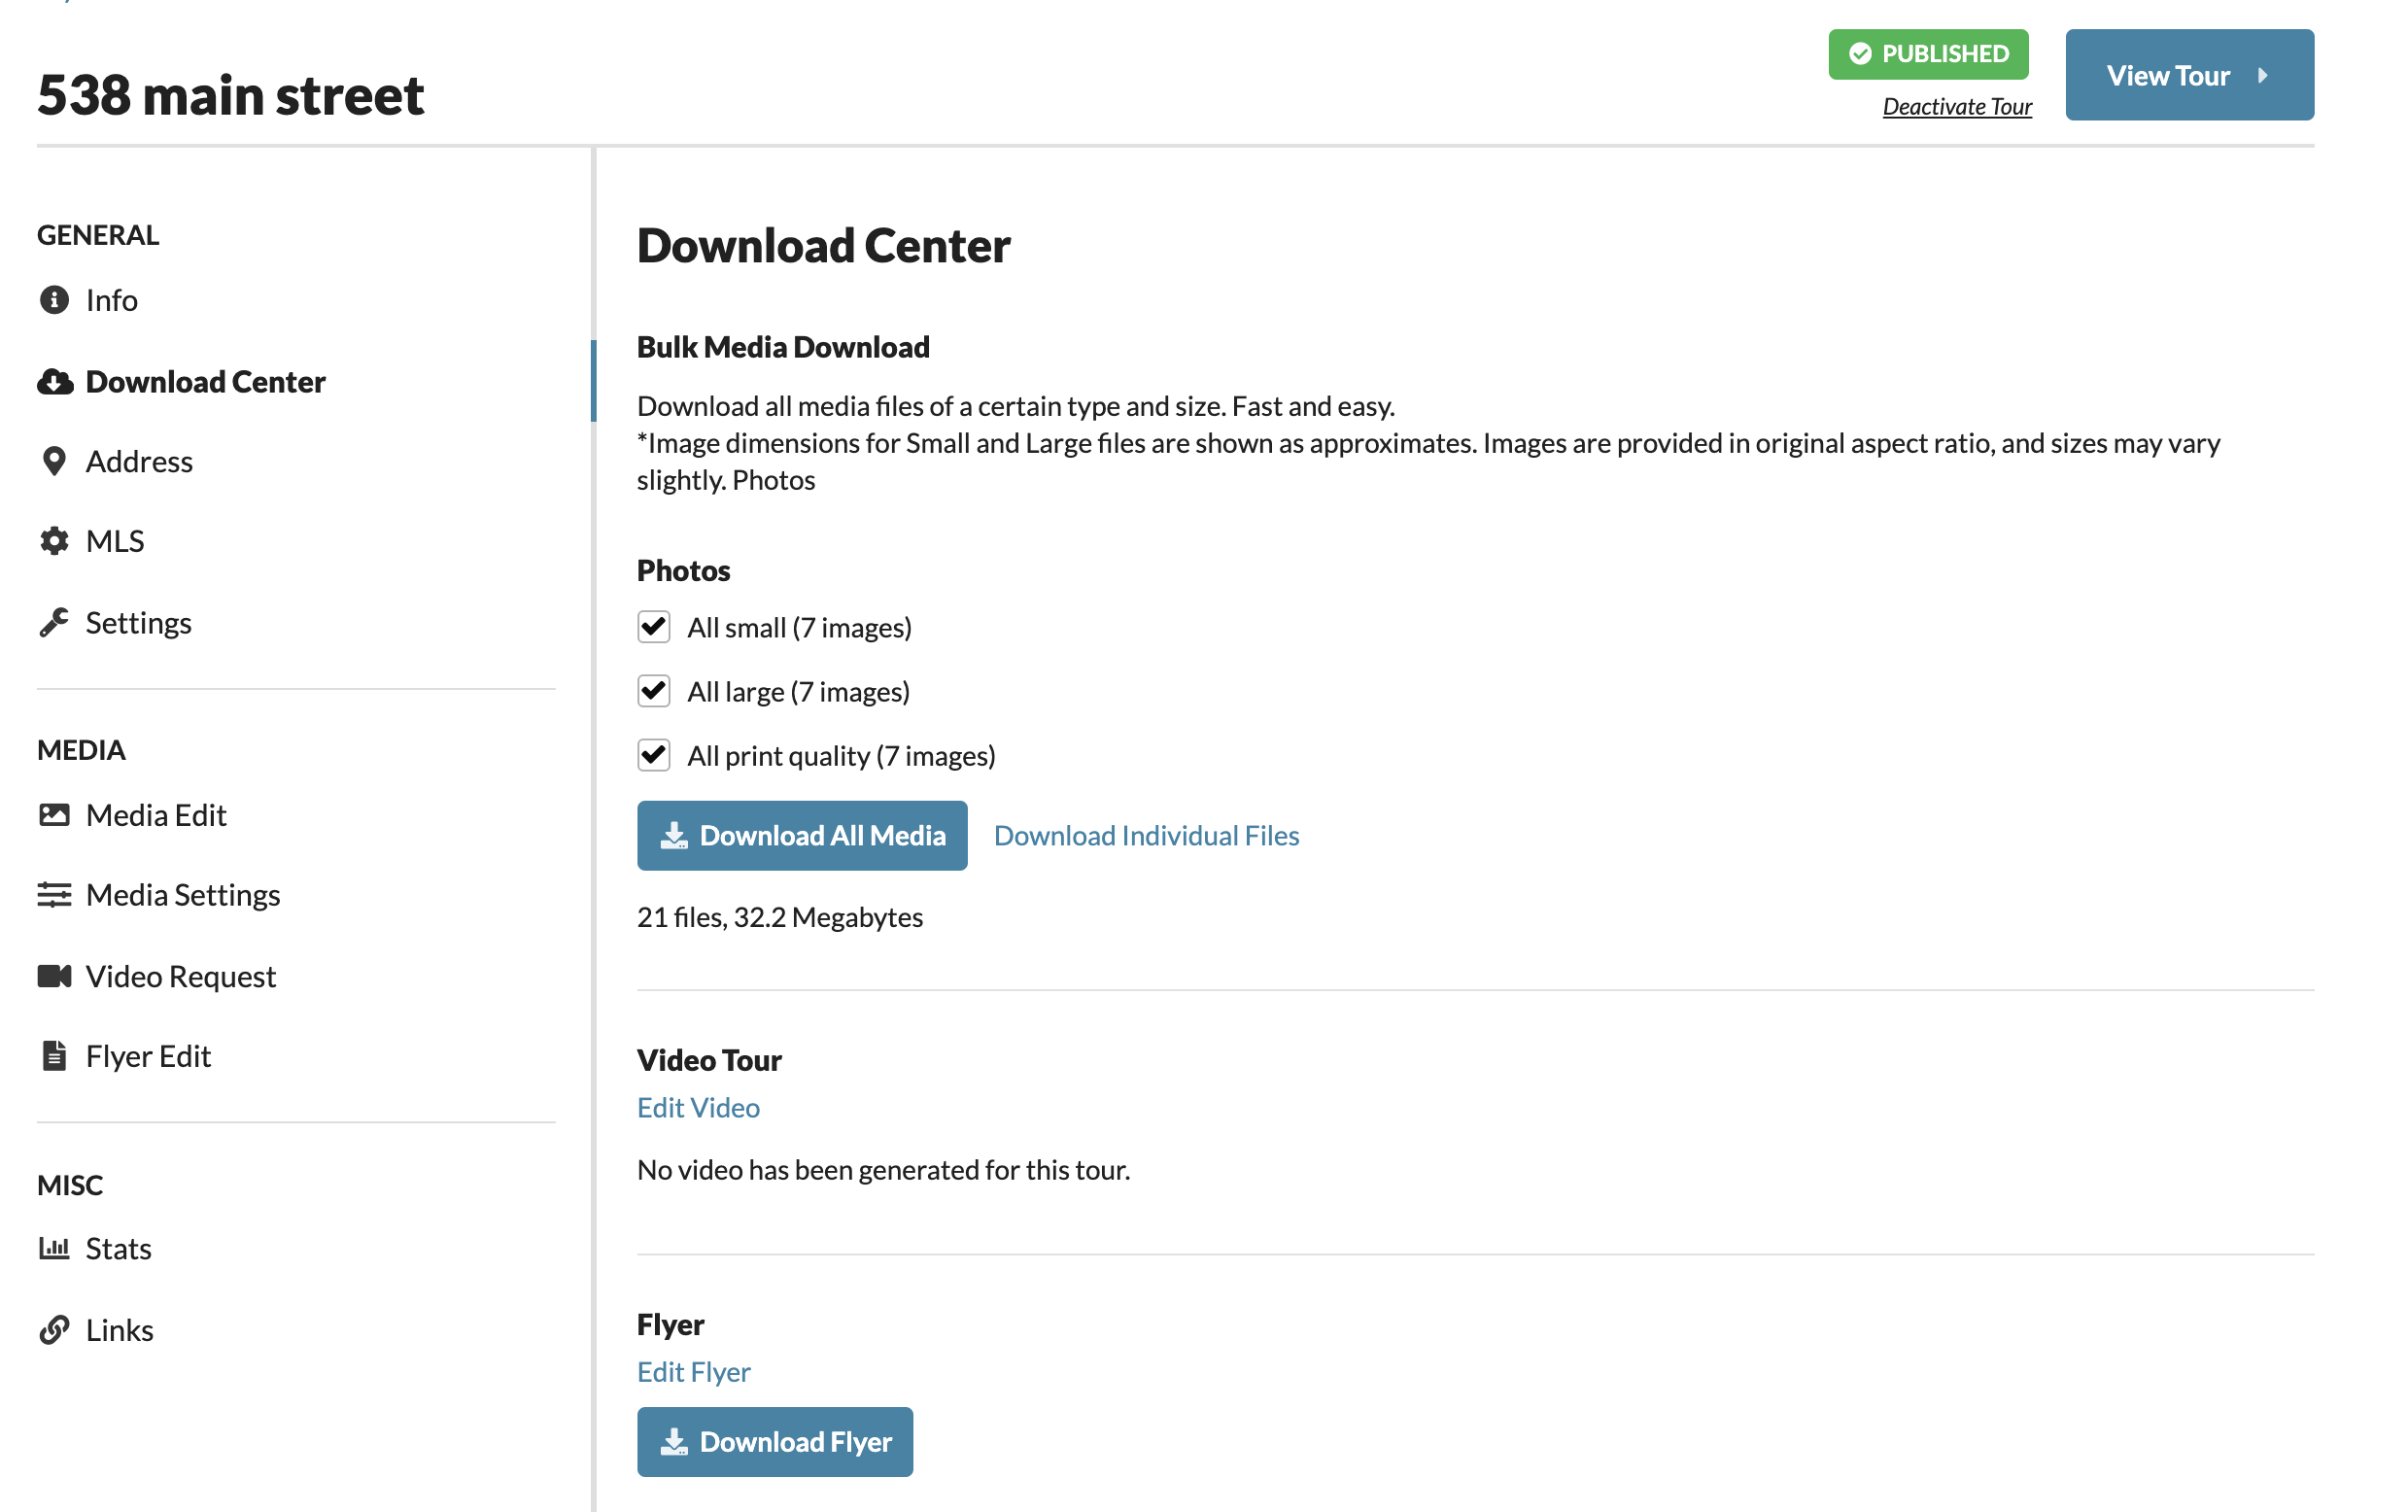
Downloads
From the Client Panel, your customers can download images in Small, Large, Print-Quality, and an "MLS" size. * MLS sizes only appear if MLS information has been added to the tour and if we have the proper image size requirement for that MLS.
Address
This tab allows you to update the address of the property.
MLS
This tab allows you to update the MLS information on the property, as well as
Settings
This tab allows you to edit and add custom links, including a custom flyer, custom school link, custom links 1 & 2, and a Matterport link.
2. Media
Media Edit
The media tab allows you to upload and rearrange the order of media items. You can also edit media details, including name, description, media type (image or floor plan), duration/display time, etc.
Media Settings
You can also make additional edits to the tour on this tab, including music, image display time, transitions, panning settings, etc.
Video request
Allows your customer to request a video version of the tour in a single movie file (.mp4) suitable for use on YouTube, DVD, etc. You will receive an email when your customer has requested a video. Please note, they are not allowed to actually order the video as there is a charge for this - you must complete the order on their behalf. Once the video has been created, it will be available for download or direct upload to Youtube in the Client Panel. Your customers can regenerate their video should they need to make changes to the tour. If you do not wish for your clients to access this, follow the instructions here to turn this option off.
Flyer
Images and text can be customized.
3. MISC
Statistics
View statistics for your tour, including total photos viewed, total tour views, total visitors, referring sites, and repeat visitor information. The statistics on this page are updated approximately every 30 minutes.
Add additional email addresses to receive weekly statistics, update frequency of statistic emails, or disable/re-enable statistic emails.
Tour Links
Branded Tour - Complete with provider and customer branding. Not suitable for most MLS/IDX Systems.
Unbranded Tour - Suitable for most MLS / IDX systems.
Simple Layout Tour - A minimalist layout with nothing but the viewer. No branding, no links, just images. (Only applies to older designs).
Gallery - A non-tour version of your images in a simple gallery-style view.
Build Custom Links - If you need the tour to display in a more custom way than offered by the standard links, use the checkboxes below to create your custom link:
- Show Address
- Show Branding
- Show Links
- Autoplay tour
- Starting Image
In the Tour Links section, you'll notice three icons on the right side of the links. Clicking those icons will perform the following actions:
Copy Link to clipboard ![]()
Copy Embed Code to clipboard ![]()
Download QR Code ![]()
Access Control
The provider determines what level of access the clients' control. Your customers can now access all of their tours from a single Client Panel login.
Click here for instructions on how to add a Client Panel Login link to your website