
From Media Management to Editing
The Business Solution offers an all-in-one solution—from ordering and editing to automatic media delivery to your clients.
Activate your Business Management Solution to access our editing service.
You want to do your own editing? Look at this doc instead

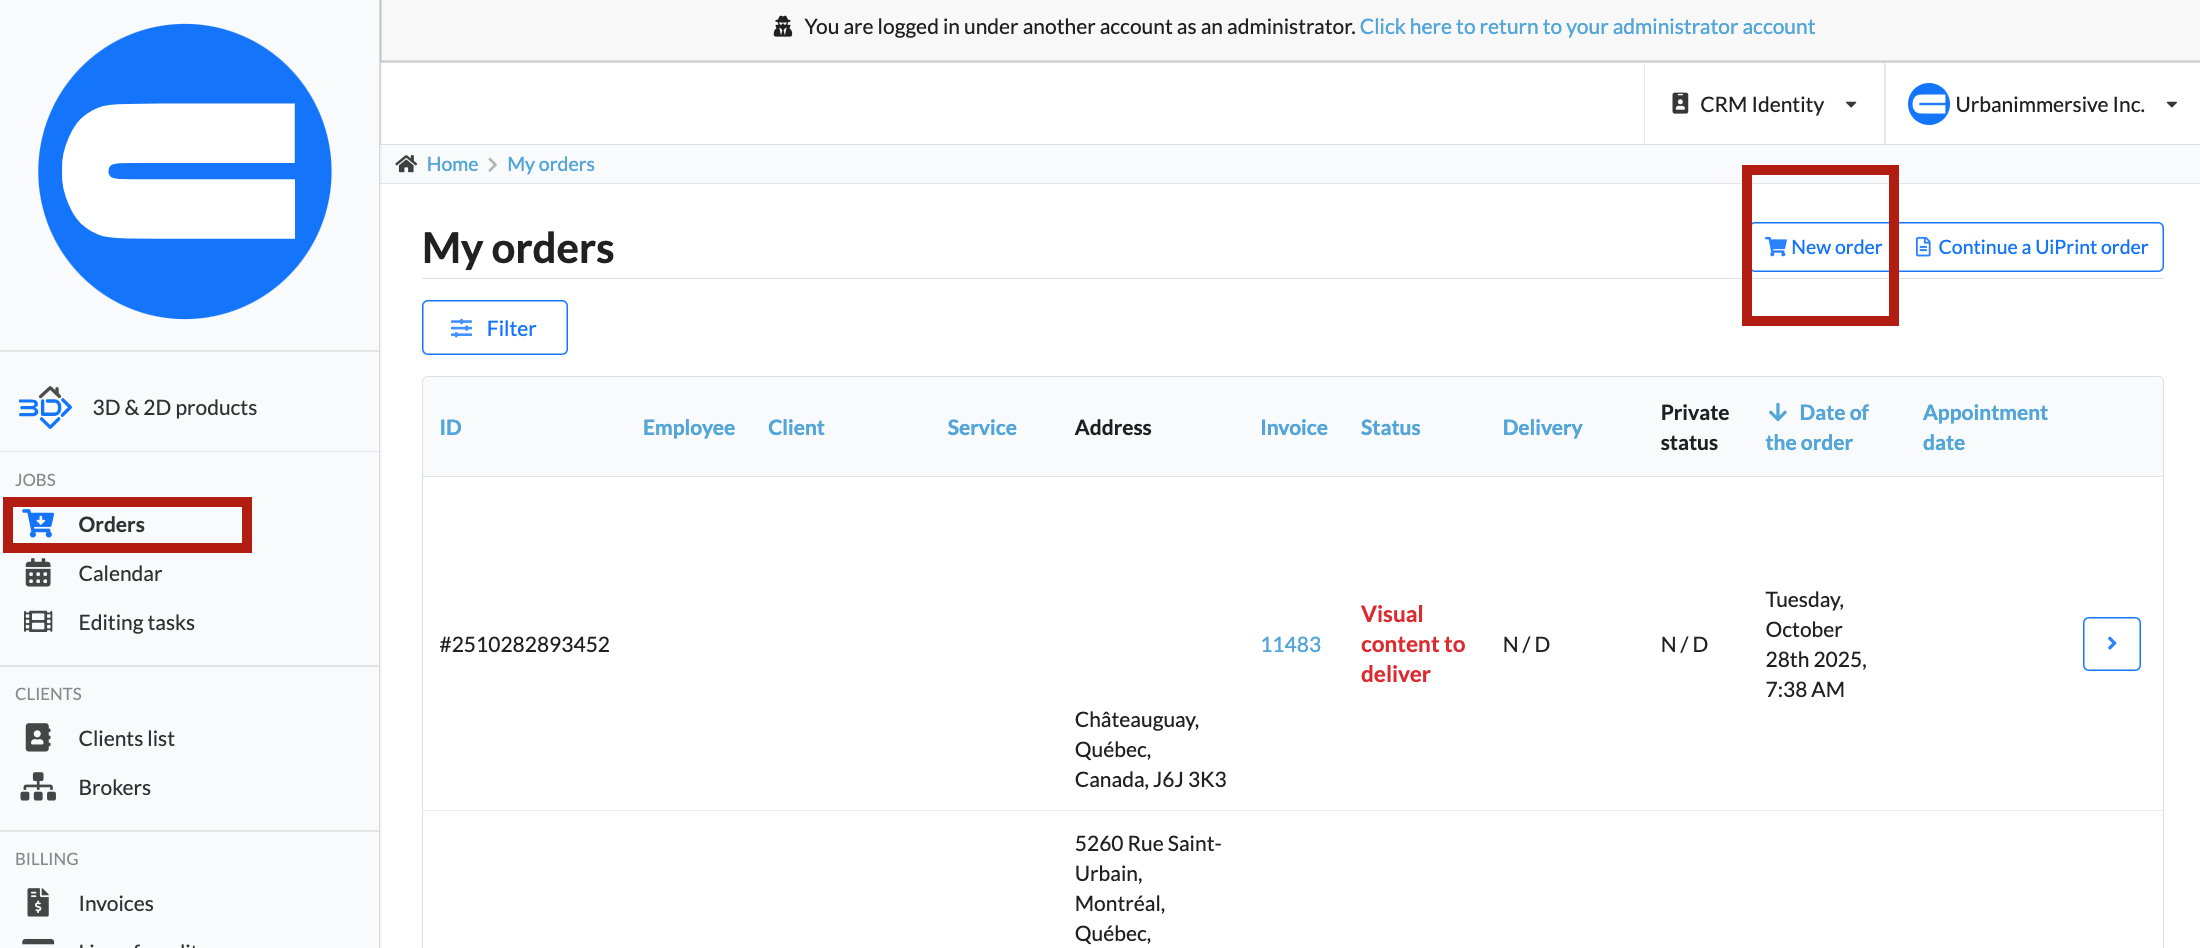
1. Accessing order details
- Create an order or open an existing order

2. Upload your photos
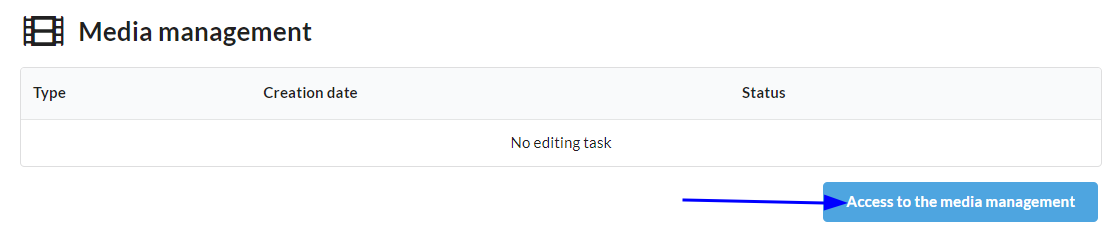
Upload your files by clicking on "Add medias" or simply drag and drop your files. Depending on the services chosen, you may find multiple boxes where you can upload photos, each box is labeled to indicate which photos should go where.
Please note that the minimum number of files written in red is only an indication of the chosen service.You are not forced to meet this minimum.

3. Group images - Important
Select all photos and Ungroup, then Sort A-Z and click Auto-Grouping. Select the photos to group (Hold down the Shift key and click on the first and last photo in the range you want to select. All photos in between will be selected.) Type the number of expositions

4. Sort your order's content
After selecting all your photos, you can drag photos to change their order.
You'll see the final images in the buckets. Sort and delete non-desired photos and make sure the order of the pictures is the order you want to appear on the delivery page.
5. Define EXTERIOR photos
Change photo type to Exterior
Exterior photos must be identified as such in order to receive blue sky replacement services.

6. Send to editing

- Photos will be ready in about 10 minutes -
7. DELIVERY
You have two options: Manual delivery or Automatic delivery
A. MANUAL DELIVERY
Once the photos are back from editing, go back to the media management. You will see the final images of each bucket. Sort and delete non-desire photos and make sure the order of the pictures is the order you want them to appear on the delivery page.
CLICK DELIVER

You will be redirect to the delivery page. In the delivery page, you can add or remove any media.
Click on "Complete" when you are ready to send it to your customer. Including the invoice and the public delivery page to download all medias.

B. Automatic delivery - Shoot. Upload. Send to editing. Relax.
With automatic delivery, your clients get their media instantly once the edits is done - no waiting, no extra admin, no manual task. Just faster service and more time for you.
An email and the invoice will be send automatically to your client.
Activate the automatic delivery

You can now review the delivery page. it is possible to change the order and delete photos.
Learn more
